-----

-----
Showing posts with label Chocolate. Show all posts

August 9, 2012

Love Brownies? Love Berries? Try this!!!

This Betty Crocker "Brownie 'n Berries Dessert Pizza" was ahhh-may-zing!!!! Seriously, I give no credit to myself, all to Betty Crocker ;).

Who else gets super nervous when trying new meals on friends and family? I do! I think it's because I want to make sure it's good before I serve it, and usually with dinners you can take a bite to taste and see if it's to your standard... but with desserts... They make me nervous! haha sounds silly, but the people pleaser in me comes out in those moments.

So, I made this dessert for family and a few friends. And lo and behold they LOVED it!! Wooohooo! Thank you, Betty Crocker!

Now I can confidently say, try this dessert!! The best part, [Other than being totally delicious], is that it is gluten-free! You know how some gluten-free desserts sort of crumble? Well, this doesn't. :) And because it has fruit on it, I call it semi-healthy ;).

Brownie 'n Berries Dessert Pizza

Here's what you'll need:

1 box Betty Crocker Gluten Free brownie mix [calls for butter and eggs on package]
1 package [8oz] cream cheese, softened
1/3 cup sugar
1/2 tsp vanilla
2 cups sliced strawberries
1 cup fresh blueberries
1 cup fresh raspberries
1/2 cup apple jelly [I bought the WM brand.. I know it's not 'All Natural' but it'll do]

1. Preheat oven to 350 degrees. Grease pizza pan. [Our pizza pan has hole in the bottom, so I used a pie pan. It works great, just had to cook it a little bit longer].

2. In large bowl, stir brownie mix, egg, and butter. Mix well.

3. Spread mix into pan, spread evenly. Bake 18-20 minutes. [I baked ours for about 22 minutes since it was in the pie pan]. Let cool for about 1 hour.


4. In small bowl, beat cream cheese, sugar and vanilla, until smooth. Once brownie is completely cooled, spread over brownie mix.

5. Add berries over cream, in any arrangement. Have fun! :) Stir apple jelly until smooth, then spread over berries.

6. Refrigerate for 1 hour before serving. ENJOY!!!


February 18, 2012

What girl doesn't love chocolate?

Having limits to what I can and cannot eat this past week has me craving everything! I wanted something chocolate and something new... something different. :) I came across this lady's blog while searching other recipes and saw a picture of a Molten Chocolate Lava Cake. After looking at about 6 different recipes for this I decided to try hers out. It was a hit! Plus, it was super super easy!

[I thought I'd show you a picture before... make your mouth water yet??] 

In all the fuss, I forgot to take a picture of the ingredients. Sorry!

Molten Chocolate Lava Cake

Here's what you'll need:

4 cubes [4oz] semi-sweet baking chocolate
1/2 cup butter [1 stick]
1 cup powdered sugar
2 eggs
2 egg yolks
1/2 teaspoon cinnamon
6 tablespoons flour

1. Pre-heat oven to 425 degrees.
2. Grease 4 custard cups really well. You want these cakes to just plop out onto a plate once they're done baking.


3. In a medium bowl, add 1/2 cup butter & 4 cubes semi-sweet chocolate.


Microwave for 1 minute. Stir until the chocolate is melted & incorporated into the butter.

4. Add powdered sugar, stir well.

5. Add 2 eggs & 2 egg yolks, stir until incorporated.

6. Add cinnamon & flour, stir well.


7. Evenly distribute the batter to the 4 cups.
8. Bake for 13-14 minutes, then remove & let stand for about 1 minute.

9. Carefully place the custard cup on a square heat pad, then put a plate upside-down on top of the custard cup, & flip. It should come out easily, if you greased them well. [*Pick the cup up quickly and carefully, it's still hot!*]


10. Top with powdered sugar, whipped cream, vanilla ice cream, or whatever you choose. 


Enjoy!!!


*I used cinnamon. You can also try vanilla or almond extract, espresso coffee, instant coffee, or Nutella. It'd be a fun recipe to experiment on :) I'd love to her what you try!! :)

January 19, 2012

Dessert & DIY craft :)

A dessert you'd run for . . .
I recently saw this dessert on pinterest and thought, I have to find a reason to make this, it looks way too good! So I did! This dessert is super super easy :) But, my suggestion to you is, if you have a small group, party, or some kind of event to go to, make these!! You'll be able to enjoy them [without keeping the entire batch at home.] So what's the dessert?

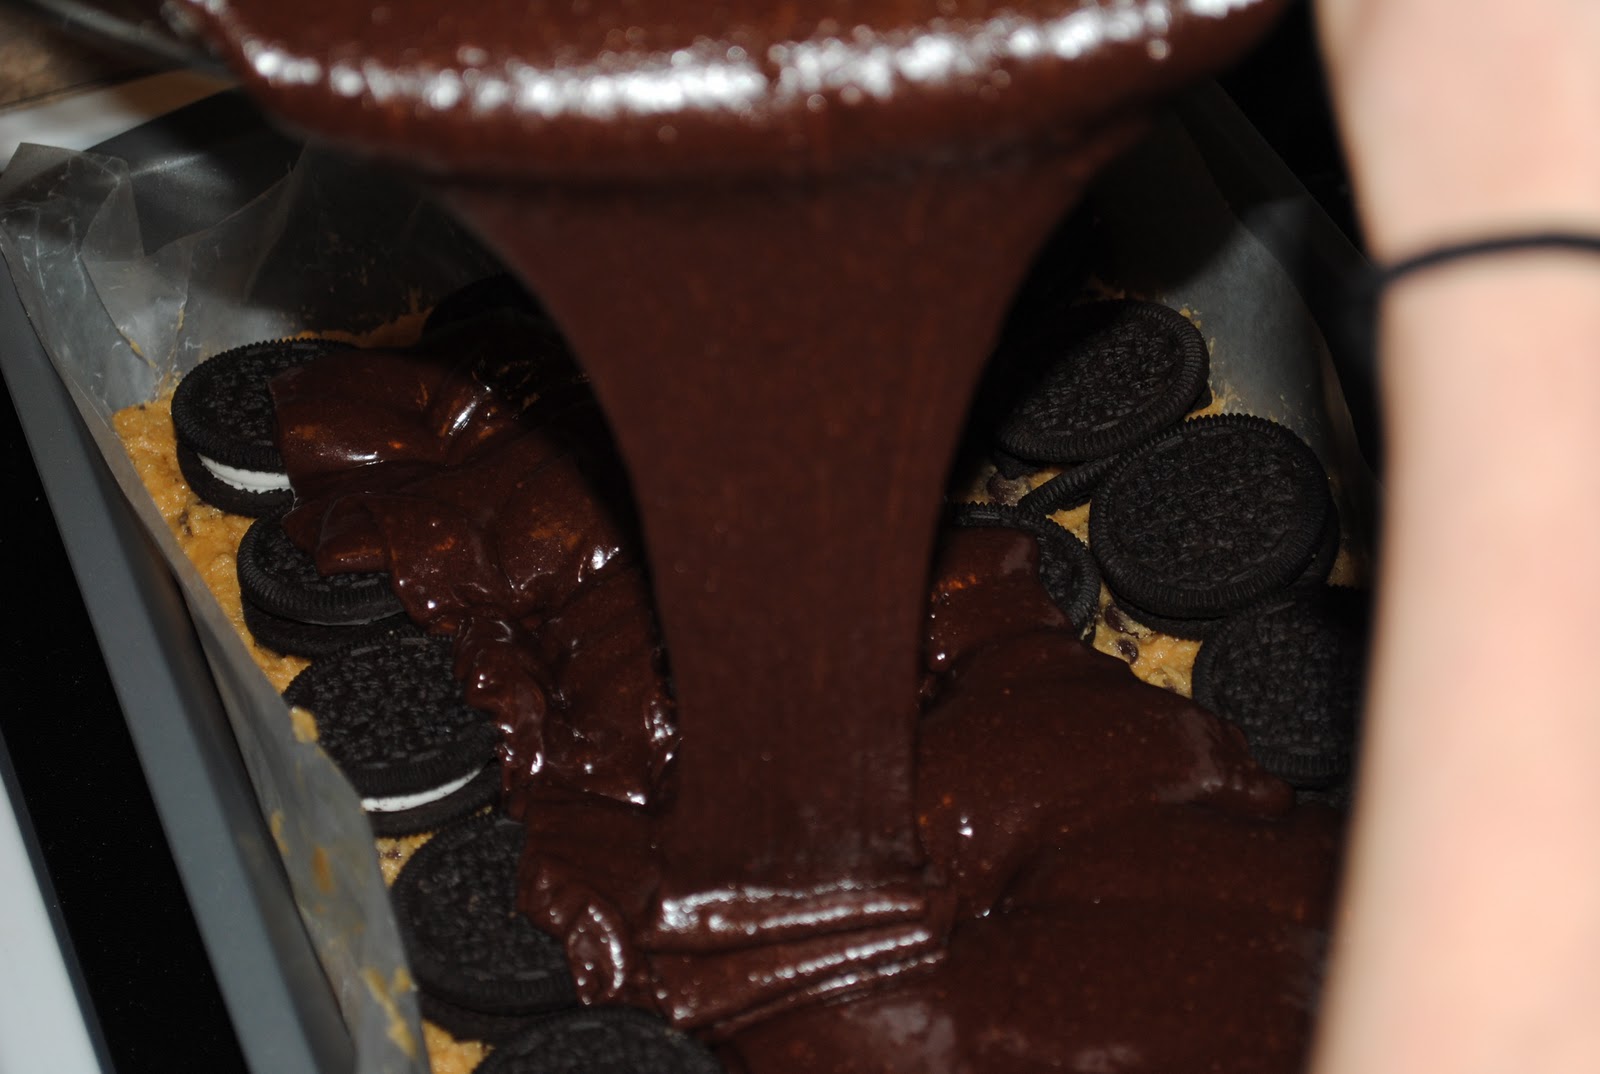
Brownies with cookie dough & Oreos

You will need 1 box of cookie mix, 1 box of brownie mix, and 1 thing of Oreos. Each box explains what specific ingredients you will need, ex. eggs, oil, butter. 

1. Mix together the cookie mix with all of its intended ingredients. Make this your first layer. [My suggestion, don't use the wax paper, it ended up being useless in the end, so butter your pan really well.]


2. Place the Oreos in a row on top of the cookie dough.

3. Mix together the brownie mix, follow the back of the box for instructions. Then pour the brownie mix over your cookie/oreo layer. Then spread evenly over oreos.


4. Bake at 350 degrees for about 30 minutes.

5. Enjoy! [They look sloppy because they were ;) it was hard getting them un'stuck' from the wax paper. But the taste was so good!]


My little DIY project :)


I bought a small mirror a few months ago and have been wanting to paint it with chalk paint for a while now and finally got a chance. Here it is :)


Before


The process . . .


After :)


Have a happy Thursday! :)
Grace & peace to you all!!